Saturday, August 25, 2012

Ghost Effect

 
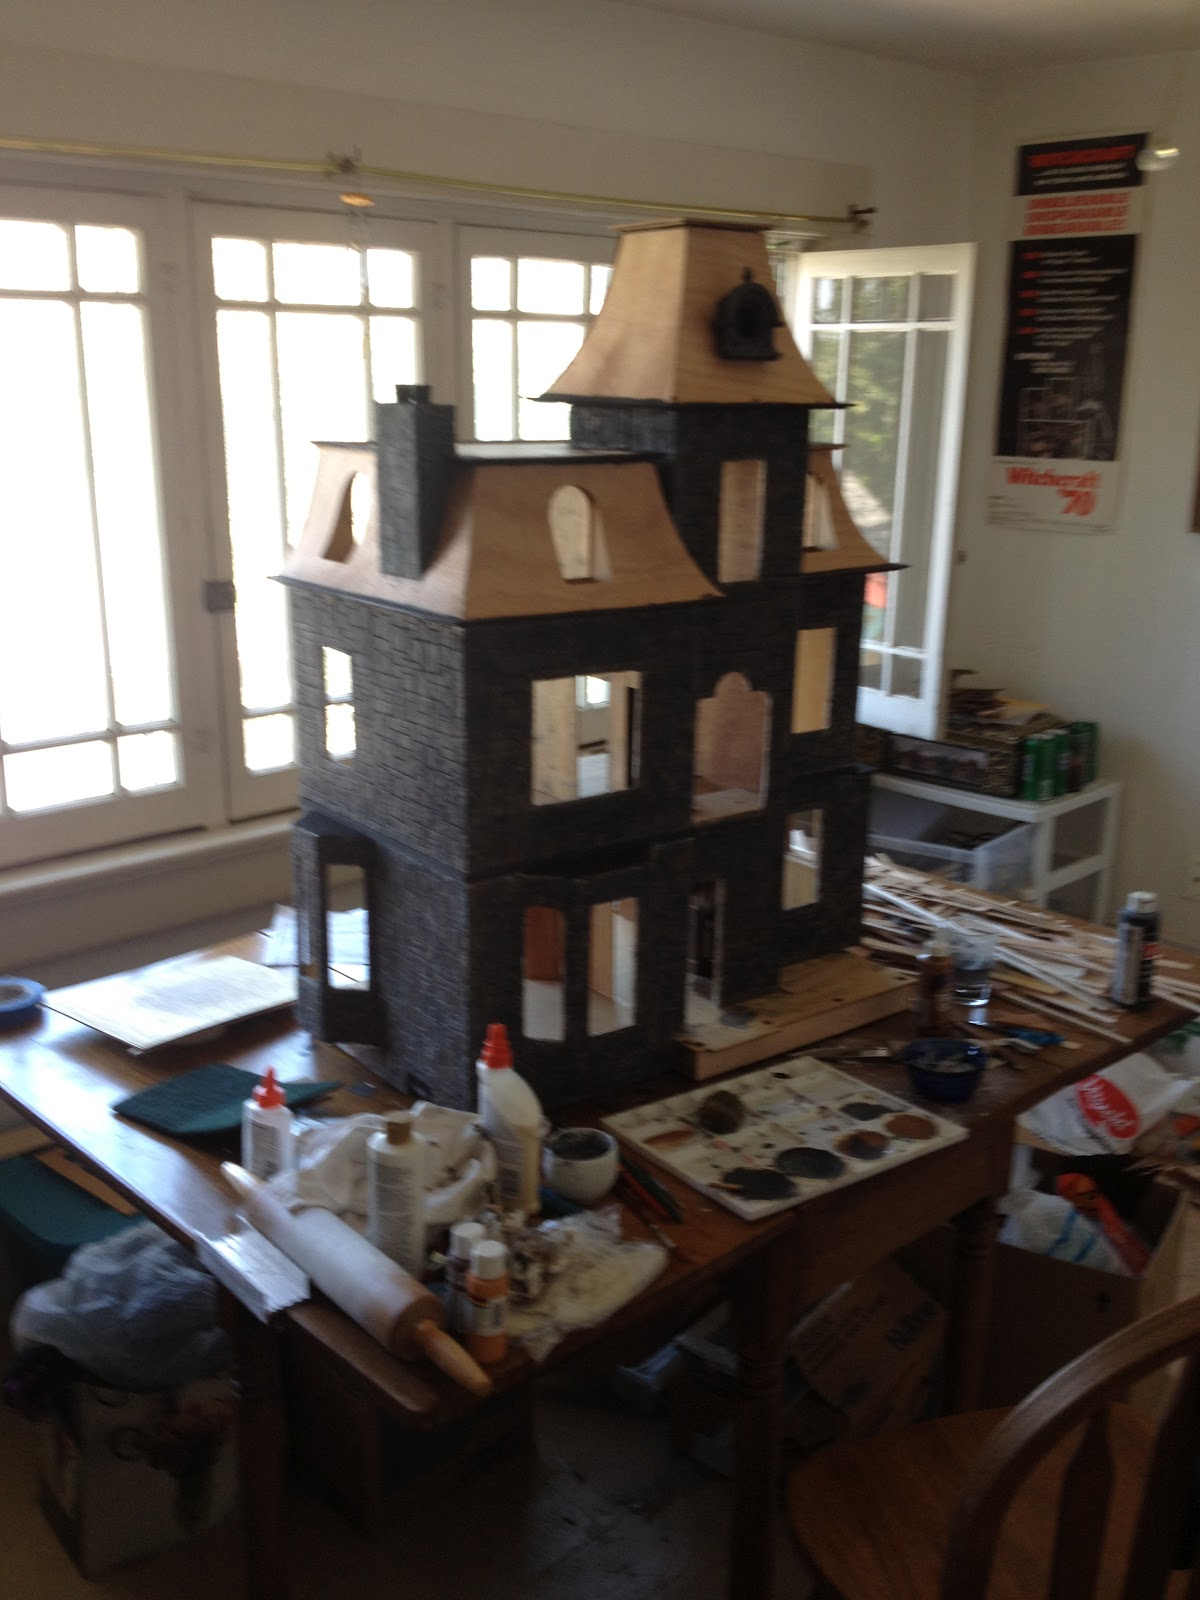
I have been thinking of ways to create a ghost effect without using "dolls" in the Manor. There are some awesome dolls out there but it is just not my schtick. I think I have come up with an idea to put a ghost effect in the attic tower that you can only see when you peer through the tiny window.
I didn't want to put any effect in that would be seen right away. This will be a detail you will have to look for.
 
I am going to take and cut two pieces of non-reflective glass (very important) to fit the width of the tower room. I will then use glass etching mix to paint on two images, one on each piece of glass that, when overlapped, will give an almost 3D effect. The first piece of glass in the front will be the form of a dress. The piece of glass behind it will be a woman's figure. The two etch designs will then get a coat of glow in the dark translucent paint. The two pieces will then be installed in the dark attic with about 1/4 of an inch or so in between them. The glow can be charged with a flashlight. This will create a 3D ghost effect. Since there is no floor to the attic room, it may also be visible without the glow in the dark effect when there is light in the room. It will be subtle which is perfect.


When I get to this step I will take photos along the way so I can show you how I do it.

Trims Going Up


literally spent three hours last night working on the Manor. All I got done was some trim work and some color washing on the portico. It seems like I should have got more done. But then again it always feels that way.I
 
Here is the portico with it's first two color washes. Looks better but I am still debating whether to scrap or not.


Mr. Anderson again laying claim to the property! Caught ya!

Beginning of the trim. It will have to be aged further but looks good for now. I keep forgetting to pick up the grout every time I make a Home Depot run. I use fine grit grouting. I find it easier to work with and cheaper than dollhouse "stucco" grout. I will be tinting it lightly with grey and then put it in a pastry bag with a super fine tip and then patiently squeeze it into every line. I already know my hands will cramp so I have been putting it off. I like this way of doing grout for this project as opposed to spreading it over everything and then wiping it off. The reason being is that I want to have the lines of grout prominent between the stones as if the weight of the stone has squished it out as opposed to smooth. Looking at old stone construction around town, this is appropriate.
 
 Sounds like a project fit for a Sunday afternoon. With beer. Grout and beer. Sounds like something you'd order at a German restaurant. I'm German so I can say that :)  Mmmmm, German food. Spitze!

 
I may end up putting some small applique detailing along the base trim just to add a bit of interest. Haven't decided yet. I don't want to get too fancy. Sometimes less is more.
 
Another thing I have been putting off are the windows. I originally thought I would build them from scratch but now I am thinking of just modifying the ones that came with the kit. Most are going to be "boarded up" or broken out anyway. Regardless, they need to go in very soon.
 
Having no set design plan for the exterior means thinking through every step of detail work and kind of letting each detail plan the next.


Friday, August 24, 2012

I Just Don't Know......

I just don't know if I am happy with the portico. It doesn't feel right to me. Maybe it is just because it has not been colored yet. It should be dry completely by the time I am home later this afternoon to do the first wash. I have no qualms about scrapping it despite the time it took to create it. I can always recycle it into a later project. Here are a few pictures. Tell me what you think.


The Balance is off now because of the large window. I think if I had carried the width of the portico all the way to the right where the wall drops back it would look better. But then again, the whole house needs to feel a bit off.
 
For some reason it just evokes "Egyptian Temple" to me. I will most likely add a wrought iron gate.


 The top will have trim to finish it off.
 
 There will be lots of vines creeping up the sides. This picture makes it look wonky on one side. It is but final installation would fix that.
 
Some of the trim pieces from Home Depot. The one on the right has obviously been painted, it didn't come like that.
 
I am my most abusive critic which is why I ask so often of your opinions. Does it look off to you? Should I redo it and make it wider? Ugh......


Thursday, August 23, 2012

Some Great Reference Sites

Here are a couple links that have really helped me or inspired me when it comes to architectural details in my haunted house.

The Old Haunted House site has a small gallery of real houses that are all great examples of haunted looking homes:

http://theoldhauntedhouse.com/home_01.html


This about.com page features a brief description of the most common Victorian styles such as Second Empire and Stick Built. Great for reference if you are bashing a kit or scratch building because it lists the most common details of each style:

http://architecture.about.com/od/periodsstyles/tp/Victorian-House-Styles.htm


Here is a great blog that really dishes out alot of facts about Victorian living and homes. It is conveniently divided into sections such as Victorian Kitchens, Contents of a Victorian Home, Colors and wall papers, etc. Invaluable.

http://victoriandecorating.blogspot.com/


Wednesday, August 22, 2012

Stone Portico, Crypt, and Legend Update

The stone portico, which I thought would be super easy (I know...) has turned out to be a bear (of course). I do not want to post any pics until it is finished and should be in a couple of days. It doesn't seem like it should be as difficult as it is turning out to be. Maybe it is just me who is making it difficult. I can be obsessively perfectionistic. 
 
I have also just began the design work of the family crypt. I may make a tutorial on that project because it is kind of cool and definitely unusual. I have not decided whether I am going to go with gator board or ply for this structure. I am leaning towards gator board. I need to come up with a cool design for a stained glass window that will be featured in the back wall.


I am using this sample as a reference for the Garth family crypt. I think it will suit the property nicely.
 
I am also revising and expanding the history of the Manor. It will be a mini book (mini as in short!) that will accompany the house if and when it is on display (I am shooting for Northwest Miniature Show 2013) that viewers can read and then look for little (actual minis!) reference points within the scene. I will publish it here in parts as it unfolds. The story is literally writing itself.
 
Have a great day all! And I just want to say thanks to all of you who leave comments and send me messages saying nice things! And sharing all of your tips, tricks, and suggestions! I love reading them and they inspire me to keep charging ahead! In this day and age where people can be so disconnected from each other it is nice to have people from all over to share with!


More Cinematic Inspirations

Viewing "The Woman in Black" inspired me to revisit other films that have great sets which can serve as inspiration for the interior of Garth Manor. "The Legend of Hell House" from I think 1972 or so is another great example of uber-creepy interiors that set my imagination into flight. Here are some pictures from that film. Great ghost story but not the best executed. The film ended up lacking in scares but the sets were amazing!
 
 
Yeah, not sure i would even step through the front door
 
The crazy woodwork in this place would stretch my carving abilities to the max
 
Bordello chic. Garish is an understatement!
 
 
Cozy dining room!
 
 
The use of colors in this place!
 
 
I am starting to feel like Garth Manor is too small! I want ALL these rooms in there. Why didn't they ever show the kitchen? Ggrrrrrrrr.....


Cinematic Inspiration

If you haven't seen "The Woman in Black" starring Daniel Radcliffe, and you enjoy a good old fashioned gothic ghosts story, I HIGHLY recommend you see it asap. This movie is not just creepy, with some serious "jumps" to boot, but is a visual feast. Of course I could not help but "miniaturize" everything I was seeing. The set design is mind blowing and really gives inspiration and great ideas for gothic dollhouse interiors. here are some random pictures I found on the net to give you a taste. 


You almost don't even notice the woman in the shadows at the end of the hall. I love the pillar accents along the wall.


Too bad this picture is so small. The entry to the mansion is deliciously unwelcoming!


Seriously icky clown. When was the last time you saw teeth on a clown doll? Ew....

Creepy dolls? Check. Cobwebs? Check. Corpse in a sheet on the bed? Check. All the requirements for a proper gothic childrens room....


Tuesday, August 21, 2012

Home Depot Trip

Made a quick trip to Home Depot and was perusing the lumber section when my eyes fell upon a curious sight. Right there by the 1:1 sized wood trim was what can only be described as 1:12 scale trim. Have they carried this the whole time and I never noticed???

The selection was on the small side but the pieces they had were fantastic. And so were the prices! I quickly snatched a bunch up in a frenzy (as if there were a hoard of miniaturists coming 'round the corner) and moved on. They were actually out of closed cell insulation foam in the thickness I needed but finding the trim made the trip worthwhile.

I don't have my camera as it is loaned out for a camping trip BUT as soon as I get it back I will post pics of the trim I scored. I love Home Depot but I never shop there for my real home......just my mini ones. Does that make me a bad person? My own roof could be caving in but I won't have time to fix it because I am too busy cutting shingles for my dollhouse....

I am furiously working on a covered entry to Garth Manor. One of the recent changes I made to the exterior plans. I think it will be a nice touch. Once I "stone" the piece, I will need to get my brickwork laid out on the porch floor so it can be installed. And I still haven't built the front door! Ugh!!! Getting ahead of myself.......

Sunday, August 19, 2012

Almost There.....

Coloring the stones on this beast has been a challenge but one I have enjoyed thus far. There is so much room for variables in texture and color because of the large areas being done. I have made a mental note that the shade of the shingles are going to be of utmost importance so it does not make the roof look too "squat". Color and dimension are so important to consider. Darker colors make things appear smaller and lighter colors make them appear larger.

 Happy so far
The grouting will make ALL the difference once in.


It seems like I should have so much more done but this is such a time-consuming step and must be done with patience. I will be adding another architectural element to the front porch area. I can't wait to get started on that! Just need a trip to Home Depot..........