I know, TWO posts in one day! Indulgent. I had some time before I head out to work so I thought I would take a couple of pics while working on my bones. I am working on the roof top and have time while the first layer dries.
Just testing some bone placement. I don't like the hands. They look cheesy but I'll let them "hang out" until I come up with something better. The throw-away parts of these skeletons are the hands, feet, and back rib cage. The spines can be used but take a lot of work to make them look decent.
I use wire cutters to snip each bone away from it's neighbor.
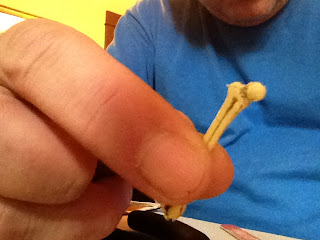
You can see the snip marks. I use finger nail files in various grits to sand them off. The plastic is really stubborn and will want to leave little "strings" behind. Just keep at it and use tweezers to pull them off if they insist on hanging on.
You can see what I mean by "string". More like a nib? Am I making up words as I go? These are stubborn with this type of plastic but they will go away with work. If you're really having a tough time, use your dremel sander. Just be careful to not apply too much pressure.
These bones are in the keep pile. The pelvic bones will serve as the top part of my bone wind chime.
After I have enough of these cleaned up I will show how to color them to make them look more realistic.


